Creating a Sequence[]
We will first create a simple sequence that has 24 outputs. For purposes of this example we will have one Renard 16 and one Renard 8 output module (24 outputs total).
The basic steps will be:
- Add a Wav file. Note if you have an MP3 you can use it starting with version 6V. There are free converter programs on the web. Here is a link to one of them -[http:// http://download.cnet.com/MP3-to-WAV-Decoder/3000-2140_4-10060498.html http://download.cnet.com/MP3-to-WAV-Decoder/3000-2140_4-10060498.html]
- Next we will configure the output channels.
- We will build a simple sequence.
- We will create e preview screen so we can watch it run.
- We will configure the Com port and Protocol and run the sequence with actual hardware.
Open HLS. You should see a screen like the one shown in Figure 1-1. Note that when you open HLS you are already creating a new sequence. You may only have one sequence open at a time. So if you are working on one and want to start another one, save your current sequence, shut HLS down and then restart HLS and work on the new sequence.
Figure 1-1

Next we will choose a WAV or mp3 file for the music to be used in this sequence. Click on the Audio File menu item at the top of the HLS screen and choose "Add Wave or mp3 File to this Sequence". Figure 1-2 will appear.
Figure 1.2

Figure 1.2
You will now name your sequence file and point HLS to where you want to save it (I create a folder with the sequence name I'm going to use in my "Sequences" folder that's in my HLS folder).
After you name your sequence figure 1.2a will appear:
Figure 1.2a

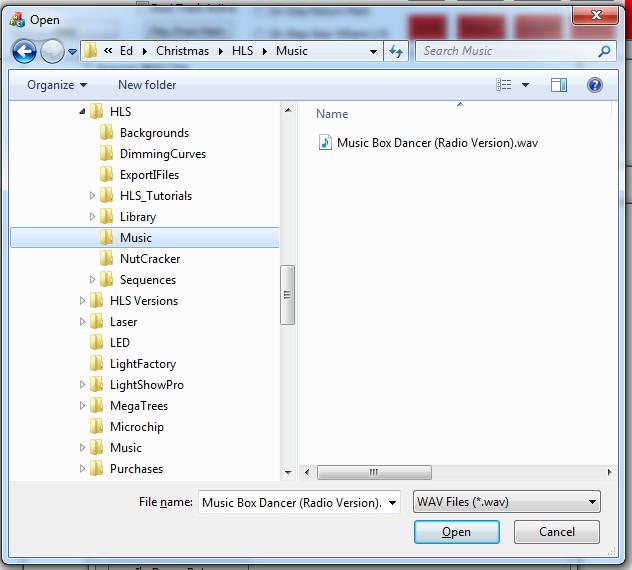
Next select either a WAV or mp3 file. In this example Music Box Dancer WAV will be chosen (see Figure 1-3).
Figure 1-3.
After you have chosen the WAV file, the screen shown in Figure 1-4 will appear.
Figure 1.4
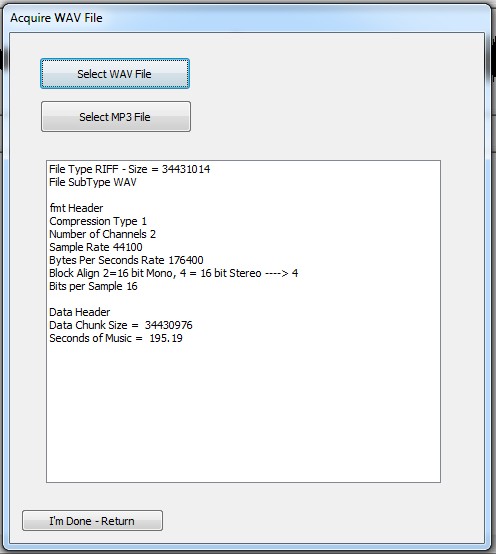
After the text appears in the screen showing the WAV file was added, click on the "I’m Done – Return" button. You should get a save confirmation message like figure 1.4a
Figure 1.4a
Next, click on the Time Resolution tab at the top of the page and choose the time resolution you would like. 50 milliseconds is the default choice.
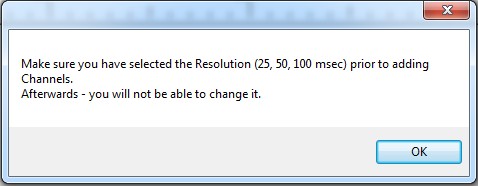
Next we will set up output channels. Click on the Manage Channels tab at the top of the page and then click on Manage Raw Channels. At this point you will see a message reminding you to choose your time period resolution before you continue (see Figure 1-5). Next, click on the OK button.
Figure 1-5.
The Channel Manager screen will now as appear (see Figure 1-6). This is where we will add and configure channel outputs. For this example we will use a Renard 16 and a Renard 8 module. This would be 24 outputs total. We do not have to tell the software we have two controllers in this example as they are both Renards and they will both be attached to the same com port. There are three entries we will need to change at the top of this screen. First right next to the Number to Add/Replace Value entry enter 24 for your 24 (16 +8) outputs.
Figure 1-6.

Next, change the Universe # entry. It cannot be zero for real outputs. In this example we will only have one type of controller and one port so we will only use one universe. 1 was entered for this example. Next, the starting channel entry was changed to 1 to correspond to the first channel (output) in a Renard being 1.
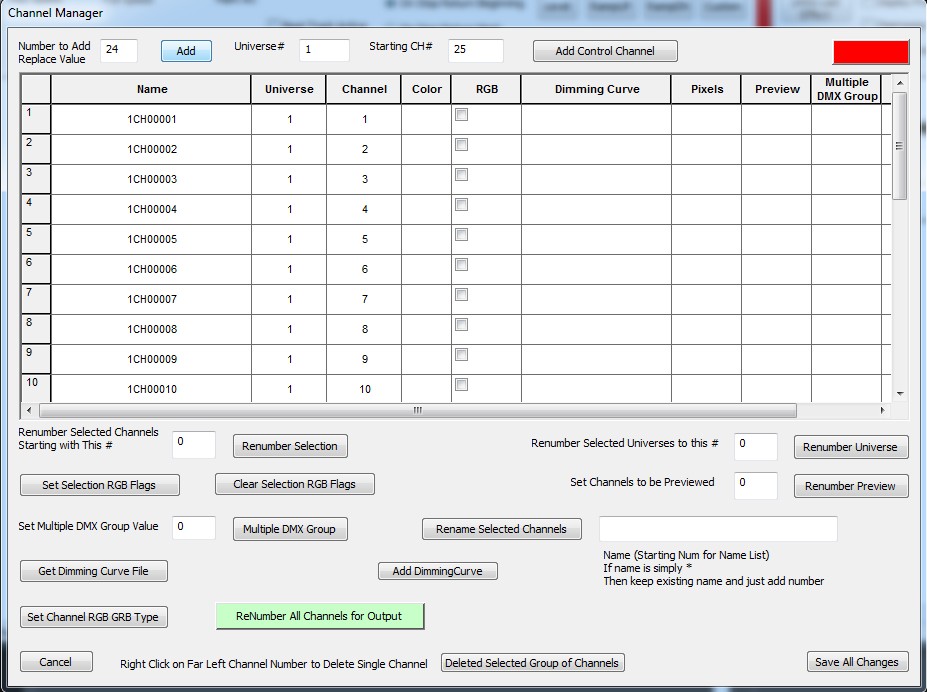
Once these three changes have been made, click on the Add button to actually add the new channels. See figure 1.7
Figure 1-7.
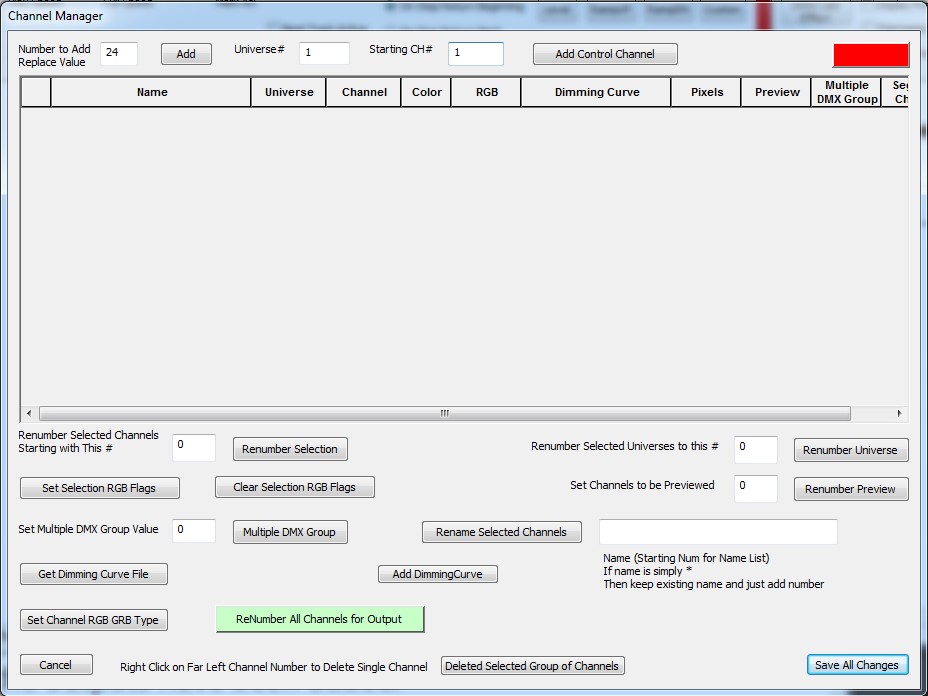
Figure 1-8 shows the screen after the outputs have been added.
Figure 1-8.
Next: Setting up Channels